





How to Use Homax for an Invisible Repair
How to repair a wall with Homax
Step 1: Sand around the hole
Lightly sand around the damaged area and wipe away any dirt or dust. This will allow the patch to stick properly and give the repair a uniform appearance.
Step 2: Apply Patch
Apply the wall patch by peeling off the backing paper and pressing it over the hole. Make sure the seal is tight and secured onto your surface
Step 3: Spackle
Apply a light coat of spackle or joint compound over the patch, covering it completely. Feather the edges outward. Make sure to cover the corners of the mesh fabric so when you are finished your repair looks smooth and clean.
Step 4: Sand
Let the repaired area dry, then lightly sand. Repeat as needed to eliminate any visible edges of the patch.
Step 5: Match Texture
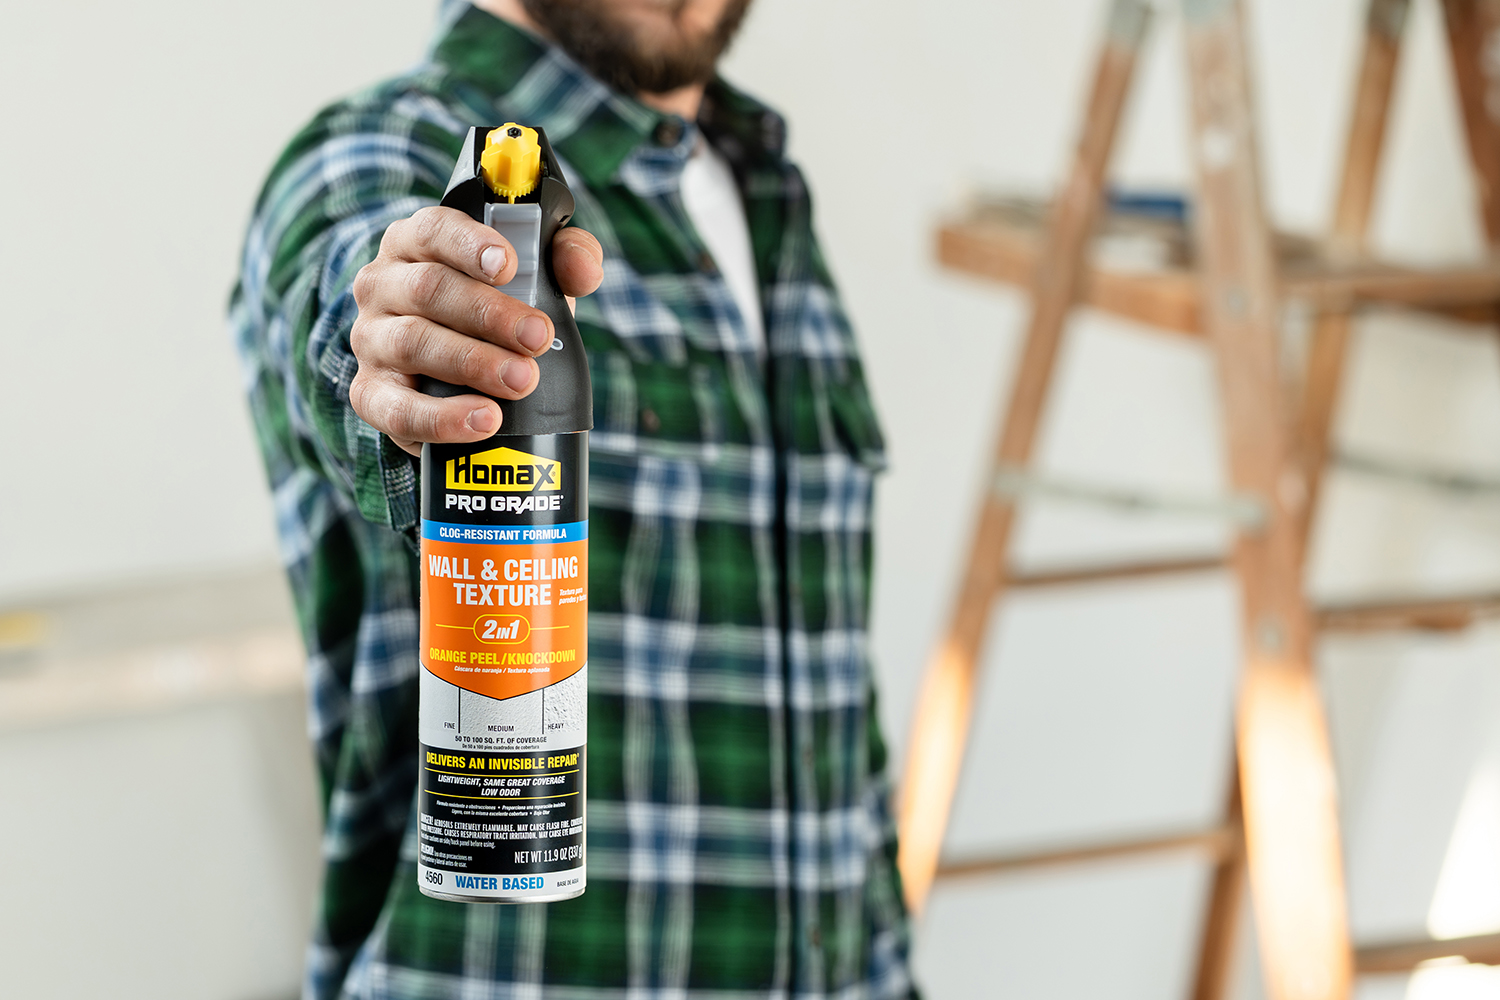
If your wall has a textured surface, use Homax aerosol texture to match your existing wall texture and help your patch blend seamlessly with the surrounding wall.
Step 6: Paint
Prime and paint the surface to match your existing wall color and turn your mini-disaster into a damage free wall.
Featured How-Tos


How to Remove Popcorn Ceiling Texture
Scrape away unwanted texture while containing the mess
Learn More
